How To Clear My History On My iPhone SE?
On a number of occasions, I have found myself needing to clear my history on my iPhone SE. Each time I’ve had to do it I have used the step by step instructions on this site. By using these steps, clearing your history is made easy.
Your iPhone SE is quite simple to operate if you are an iPhone addict, as people say “Once you use Apple, you shall use no other.” When you are browsing, your iPhone SE creates a digital trail that tracks every single page that is opened in that browser.The reason why this trail is kept is to allow you to revisit any page quickly. This trail is what we call your browser history.
In this tutorial we will show you a simple way on how to clear my history all at once or all the selected pages. Selecting pages is specifically for choosing only the pages you want to delete.
Although there are many benefits to keeping your browsing history, such as being able to quickly go back to a page you viewed previously. There are sometimes when you want no record of the pages you visited. In this case, the only available option is to clear my history.
Discovering how to clear my history on the iPhone SE is important. This is because most of your private life viewing is done on your mobile device. So by not clearing your history you expose yourself leaving you vulnerable to any nosy people. Keeping your browsing history is acceptable only if you know that your are the sole user of your iPhone SE.
What you will need:
- One
- Before you get started, you will need to be logged into your iPhone.
- You will need to navigate to the Settings of the preferred browser.
- Locate the Privacy settings.
- Identify which URL you would like to delete.
- Proceed to clear your browsing history.
- Two
- A note book if you want to take notes so that you can delete your history in the future with ease.
With Google Chrome being the most commonly used browser on the iPhone, we have focused on how to erase the history on your Google Chrome browser. By the end of this tutorial, you will be able to view and delete all your unwanted history on any Apple mobile device.
Let’s get right into it!
For Computer/PC instructions
please go here Delete Browsing History in Chrome Browser
Step 1 : Open your Google Chrome browser.

- Click on the 3 small circles on the top right of the browser to access the menu.

- Once the menu appears scroll down until you see the ‘History’ option. Select it.

Step 2 : View your recent history
- This will show you all your recent history.
- At this point, you could choose to delete individual entries of history.
- To do this simply press the ‘BIN’ icon next to the list of pages you have visited.

Step 3 : How to Remove (all your history) your history
- However, if you would like to remove all or at least the last hour of your history, then proceed with the instructions below.
- At the top of the list, you will see a button that says ‘CLEAR BROWSING HISTORY’.
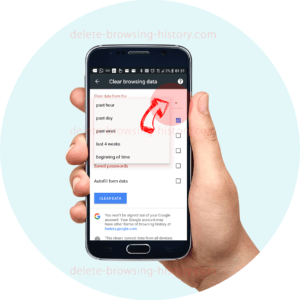
- Click on it to go to a menu where you can select just how much browsing history you want to delete.
- Select a time period from the options,
- past hour
- past day
- past week
- last 4 weeks
- the beginning of time
- Next, decide which element of your history you would like to delete. Select from
- Browsing History
- Cookies and site data
- Cached images and files
- Saved Passwords
- Autofill from data
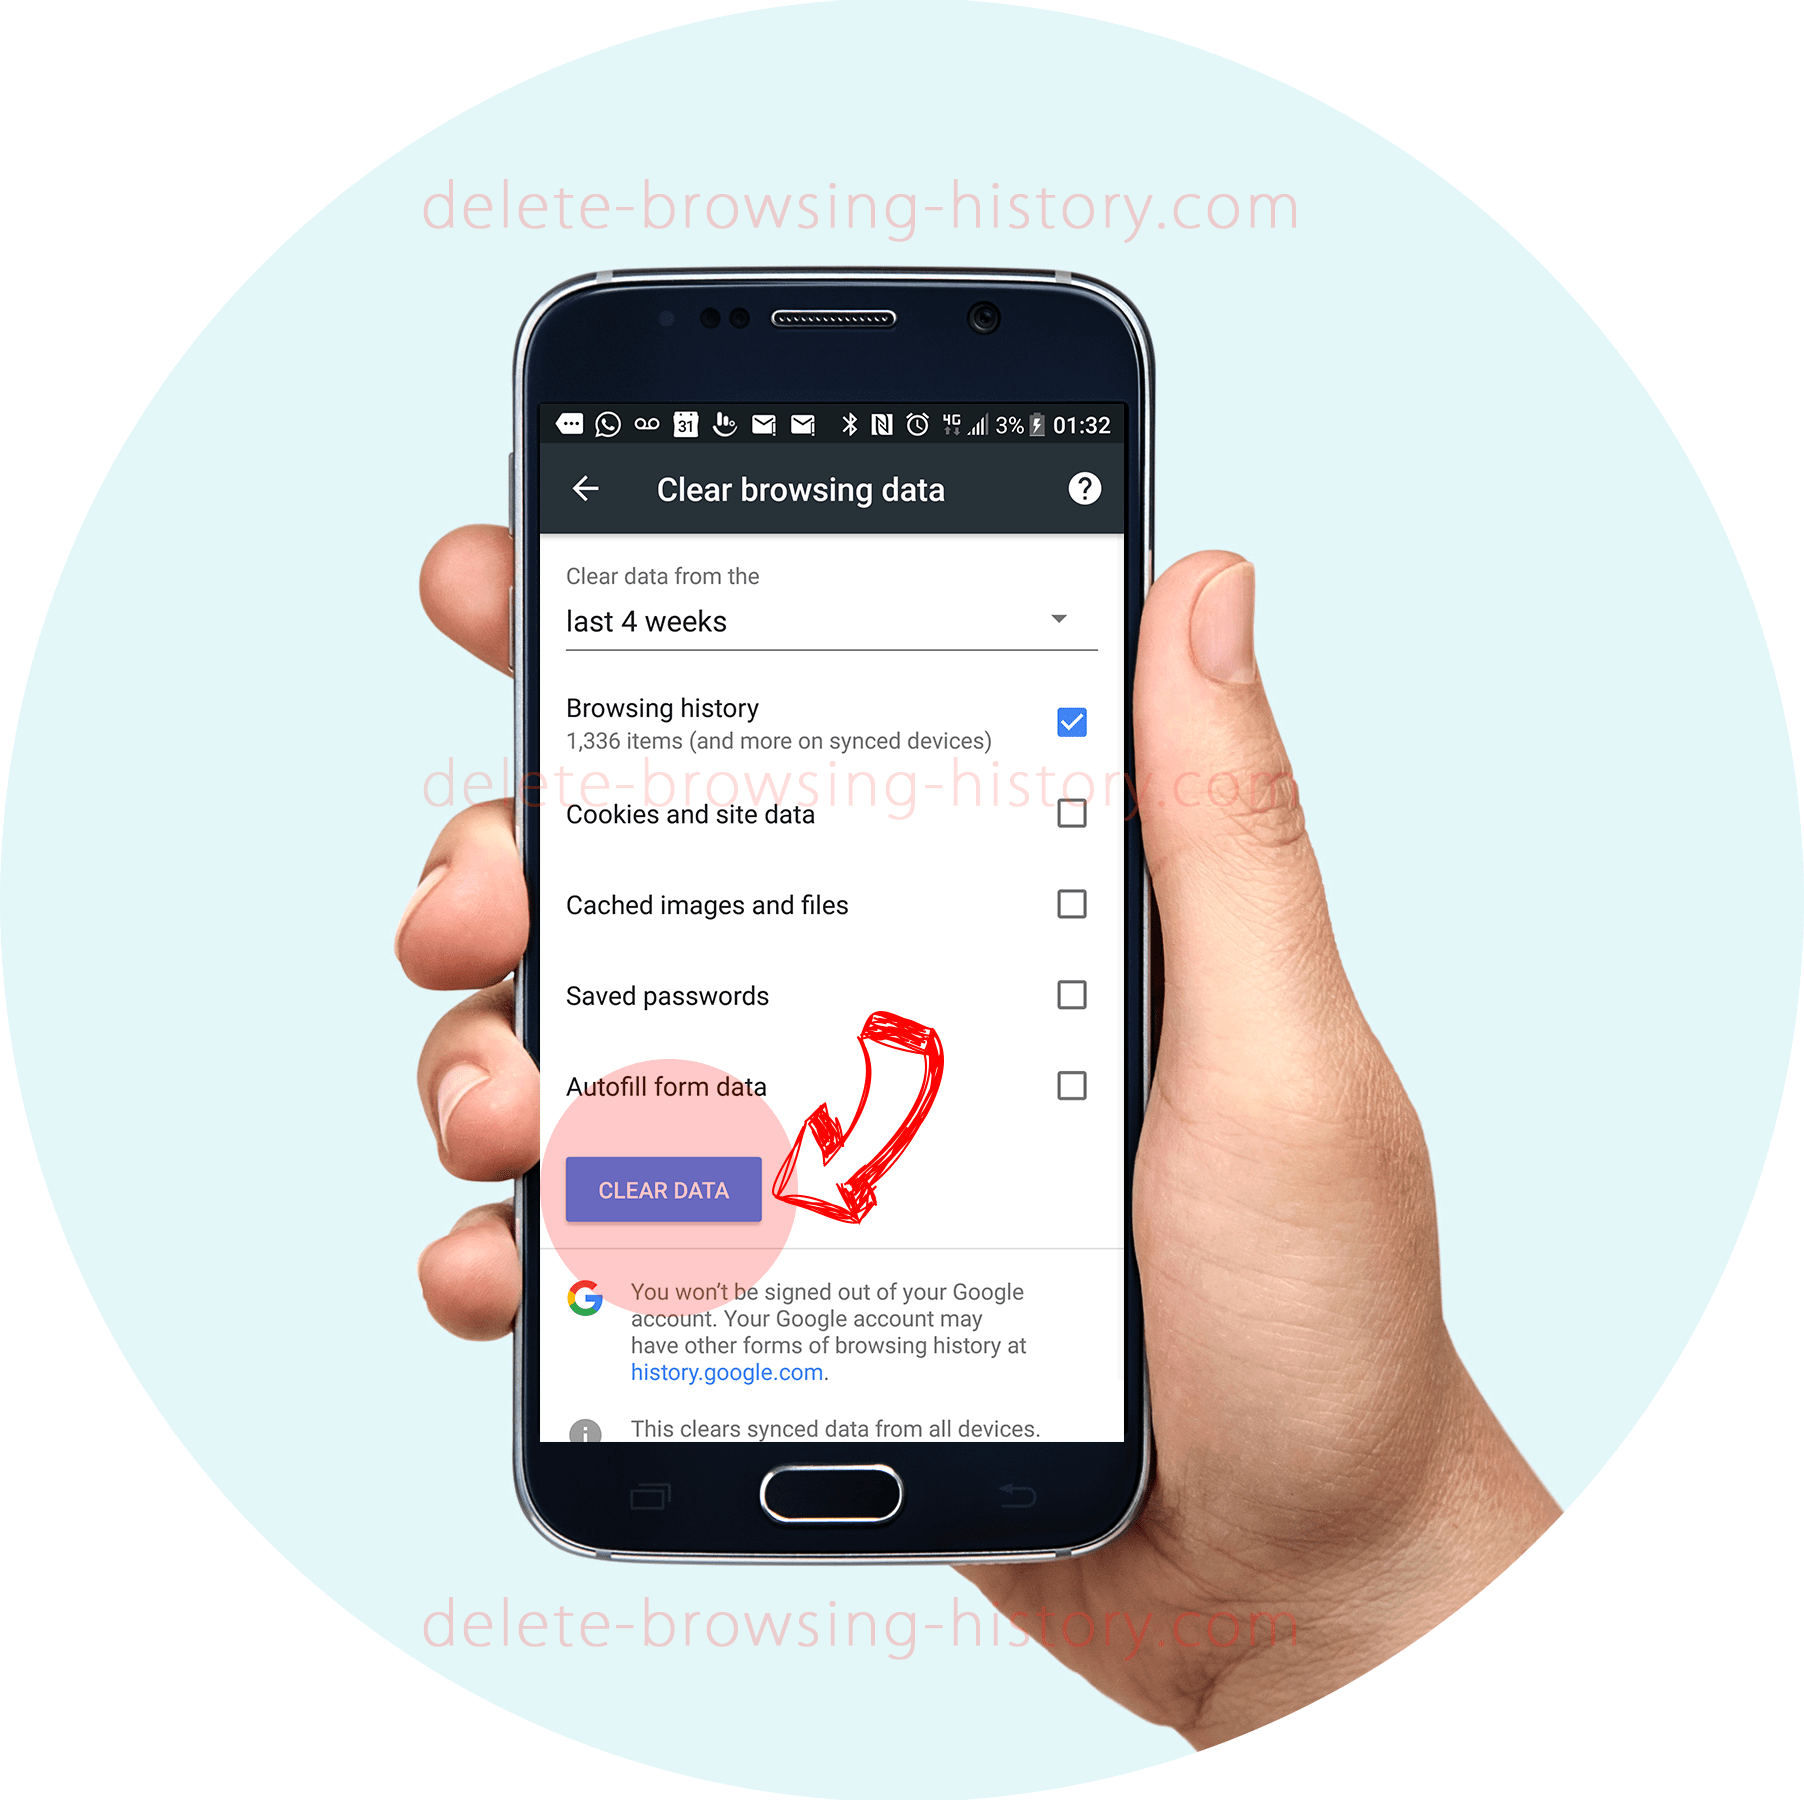
- When you have selected the ones you want to delete, press the ‘CLEAR DATA’ button.
That’s it, you are done!
Latest Posts
-

-

Tips & Suggestions
Embarrassed By Your Search History? Here’s How To Erase It in 5 Easy Steps -

Tips & Suggestions
How To Turn Your History Off When Surfing -
-